DIY Temporary Tattoos: A Beginner’s Guide to Creating and Applying
Ta
Temporary tattoos are a fun and creative way to express yourself without the long-term commitment of permanent ink. Whether you're looking to try out a design before getting a real tattoo or just want to add some flair for a special occasion, creating your own DIY temporary tattoos can be an enjoyable project. This guide will walk you through the process of making and applying your own temporary tattoos.
Materials You Will Need
Before you start, gather the necessary materials to ensure a smooth process. Here’s what you’ll need:
- Tattoo paper (special paper designed for temporary tattoos)
- Inkjet or laser printer
- Scissors
- Design software or pre-made designs
- Sponge or cloth
- Water
Having these items ready will help streamline your tattoo-making experience and ensure you get the best results.

Designing Your Tattoo
The first step in creating a temporary tattoo is designing it. You can use design software like Adobe Illustrator or Canva to create a custom design, or you can find pre-made designs online. Make sure your design is the right size for the area where you plan to apply the tattoo. It’s important to remember that the image will be mirrored when transferred onto your skin, so reverse any text in your design.
Choosing Colors and Styles
When designing your tattoo, consider the colors and styles that best reflect your personality or the message you want to convey. Bold colors tend to stand out more, while pastel shades offer a subtle look. You might also consider black and white designs for a classic appearance.

Printing Your Tattoo
Once your design is ready, it’s time to print it on the tattoo paper. Most tattoo papers come with specific instructions, so be sure to follow them closely. Typically, you will need to print on the shiny side of the paper. It's advisable to test print on regular paper first to ensure everything looks as expected.
After printing, let the ink dry completely before proceeding to the next step. This will help avoid smudging and ensure a clean transfer.
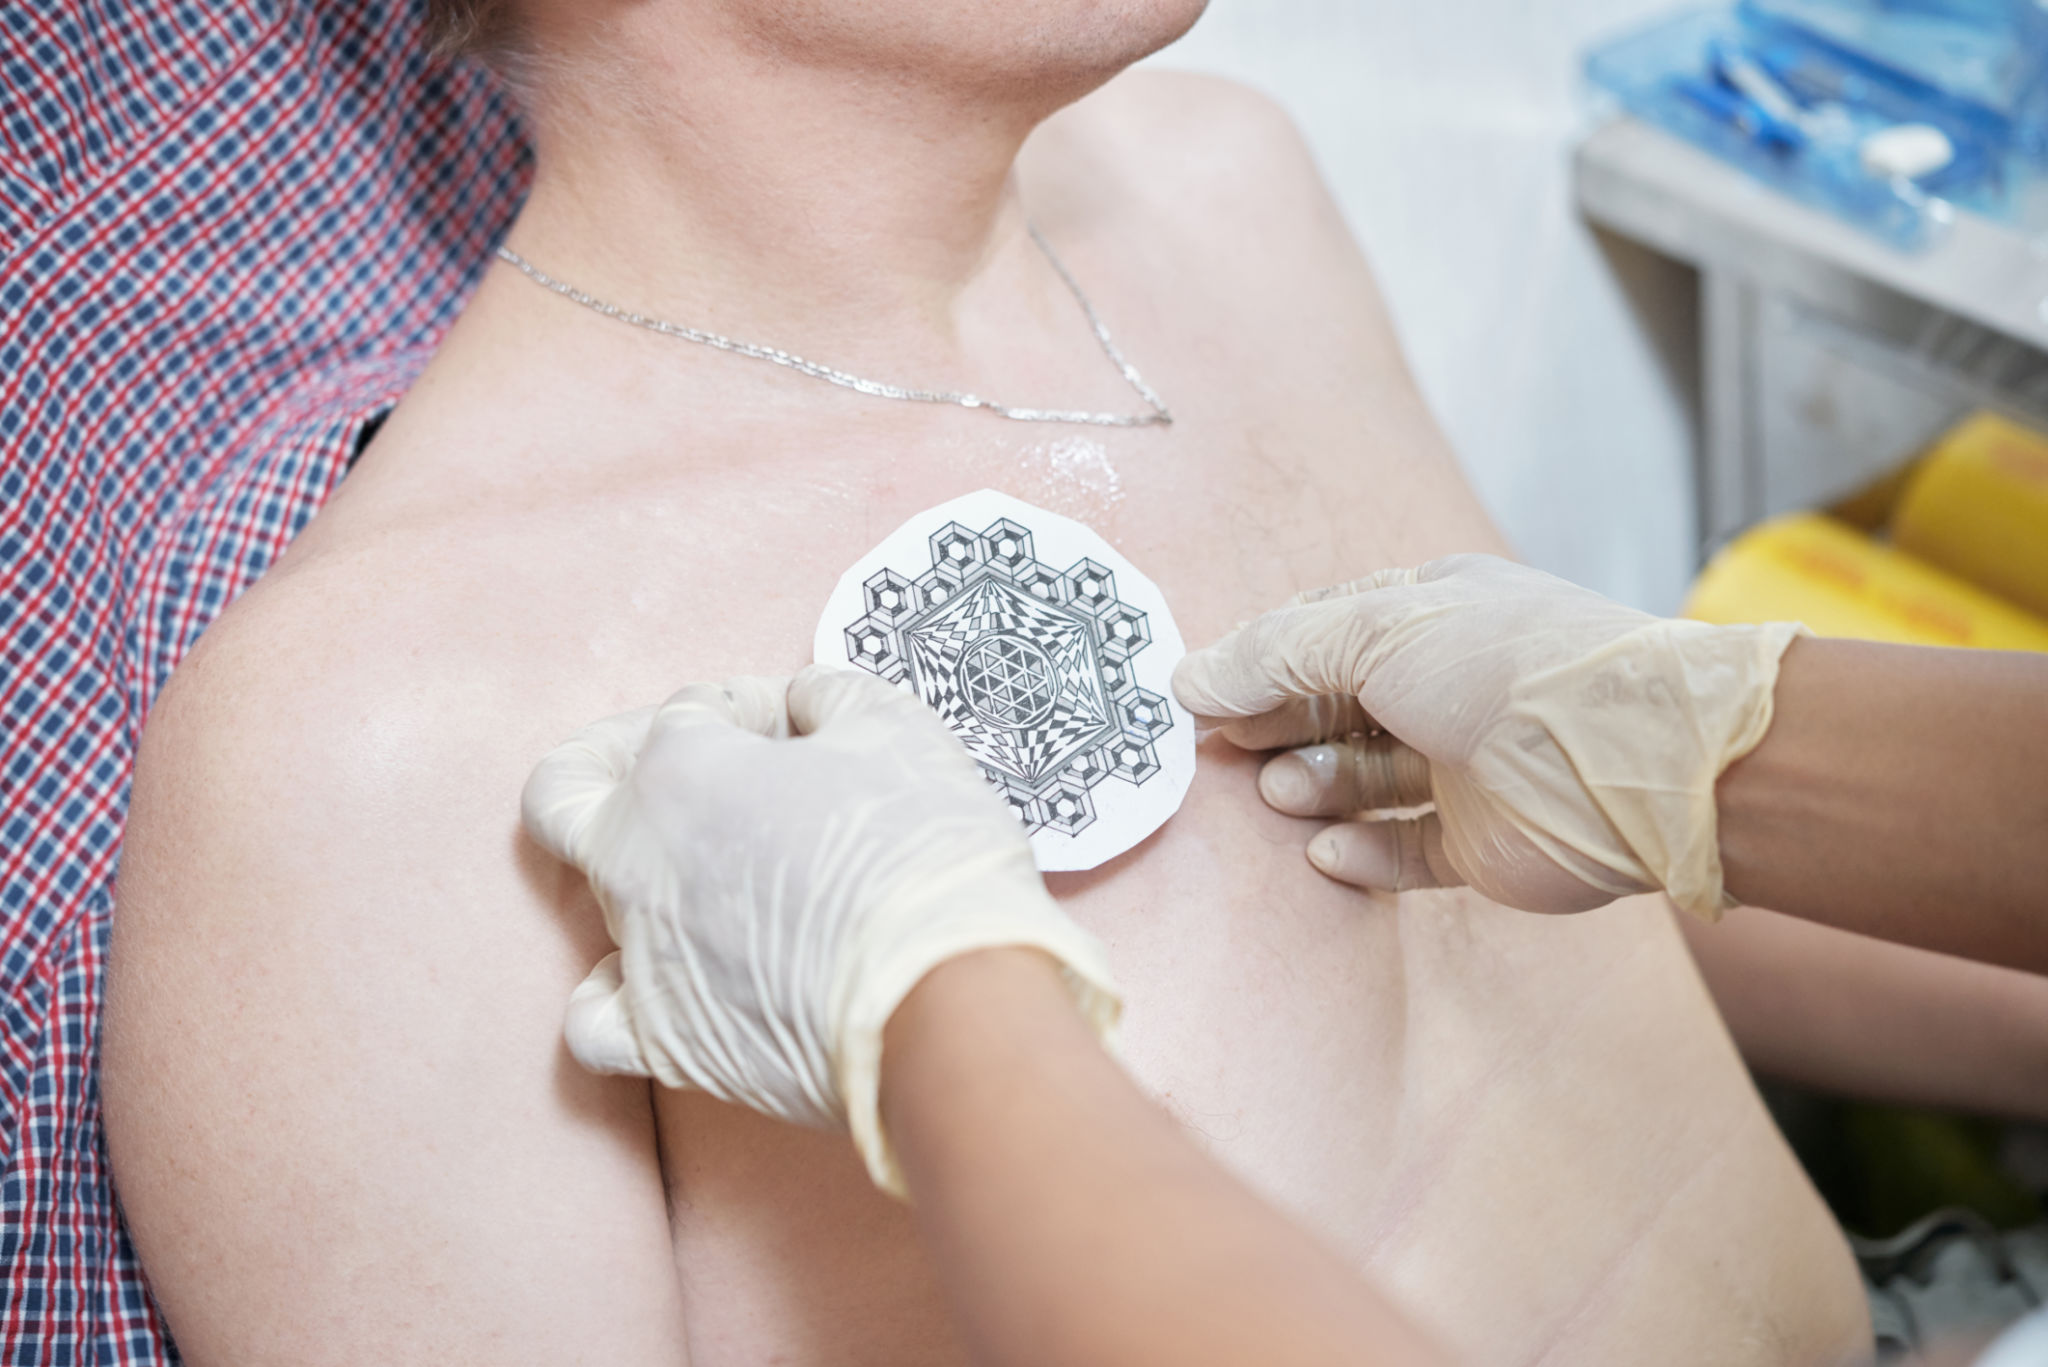
Applying Your Temporary Tattoo
With your design printed and ready, it’s time to apply the tattoo:
- Cut out your tattoo as close to the edges as possible to avoid excess adhesive on your skin.
- Peel off the clear protective film from the tattoo paper.
- Place the tattoo face down on your skin where you want it applied.
- Dampen a sponge or cloth with water and press it against the back of the tattoo paper.
- Hold for about 30 seconds, ensuring the entire tattoo is wet.
- Carefully peel back the paper to reveal your new temporary tattoo.
Caring for Your Temporary Tattoo
To make your temporary tattoo last longer, avoid scrubbing it when washing and try not to expose it to lotions or oils. Generally, temporary tattoos can last anywhere from a few days to a week depending on care and placement.
Remember that areas with less friction, like shoulders or upper arms, tend to retain tattoos longer compared to areas like wrists or fingers.
Removing Your Temporary Tattoo
If you wish to remove your temporary tattoo before it naturally fades, there are a few methods you can try:
- Use rubbing alcohol or baby oil on a cotton ball and gently rub over the tattoo until it fades.
- Try using an adhesive remover wipe if you have one available.
- A gentle scrub with soap and water can also help remove any remaining traces.
Experimenting with DIY temporary tattoos is a fantastic way to explore body art without commitment. With just a few materials and some creativity, you can create designs that are unique to you. Enjoy the process and have fun showcasing your new temporary ink!
